CIS Injector Cleaning, Seal and Holder Replacement
Car is a 1985 VW Cabriolet.Thumbs and links open new windows.
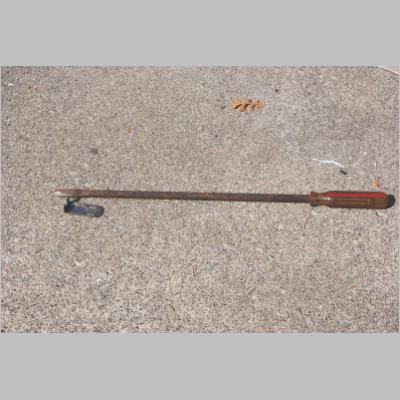
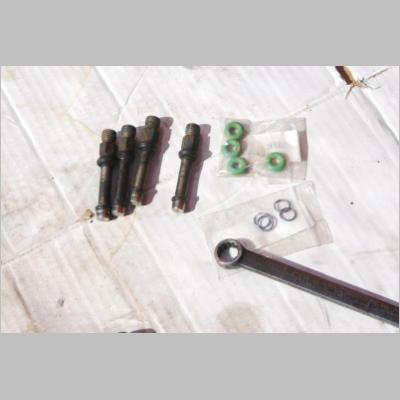
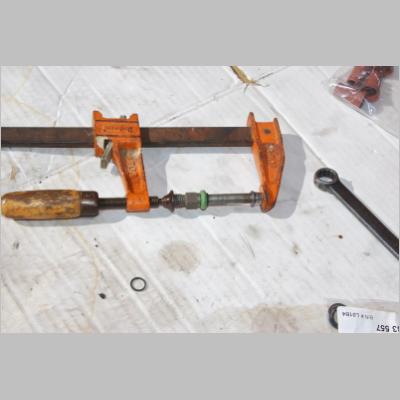
tools-01.jpg
Rusty
from storage pry bar and a CIS Injector Puller.190.70 KB Puller Purchase Link. |
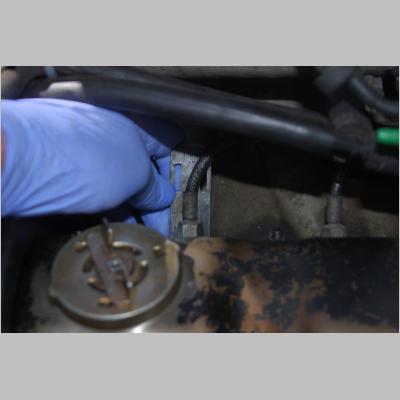
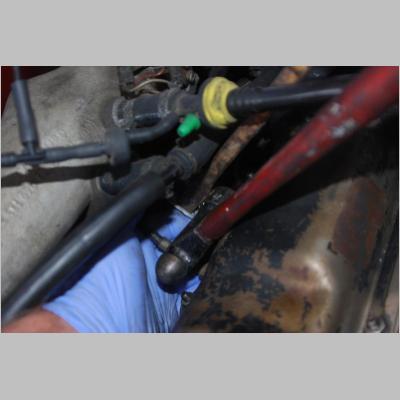
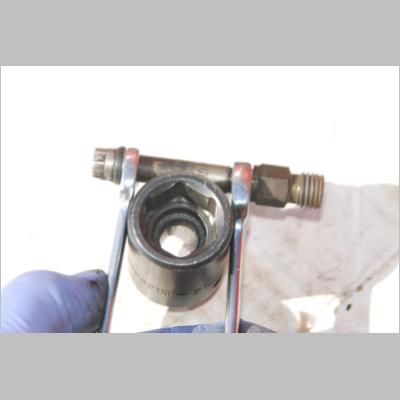
removing-1-01.jpg
Injector
puller in position on Injector #1.95.45 KB |
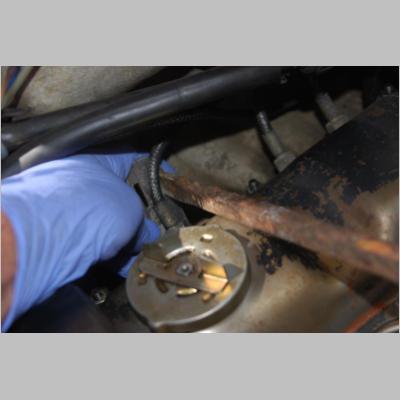
removing-1-02.jpg
Still
on #1, different angle, pry bar in place.101.26 KB |
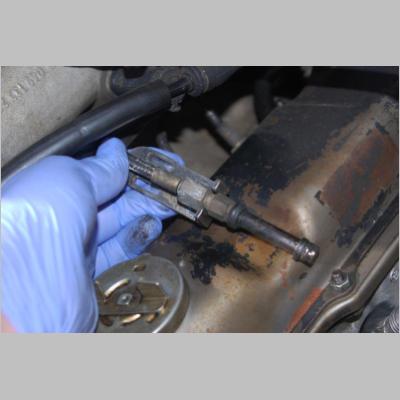
removing-1-removed.jpg
A
quick pop with the pry bar, the injector is out
of it's holder, still
connected to the line.111.95 KB |
removing-3.jpg
I've
always found 2, 3 and 4 come out easier with an
additional fulcrum for
the pry bar, I'm using a hammer here, a block of
wood will do, whatever
you have on hand.103.83 KB |
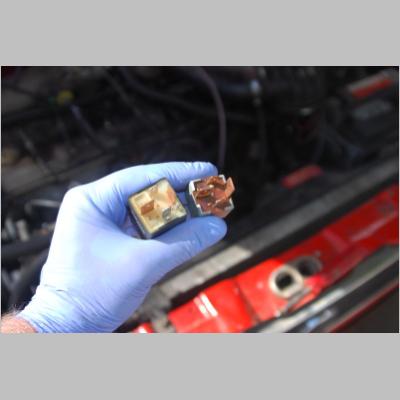
relays.jpg
Fuel
pump relay on the left with 5 pins, load
reduction relay on the right,
4 pins.99.89 KB If your fuel pump relay has 4 same size pins + one smaller, use the horn relay instead. We are temporarily swapping the load reduction (or horn, whichever) relay into the fuel pump relay socket, then, pumps will run continuously as the key is switched on. |
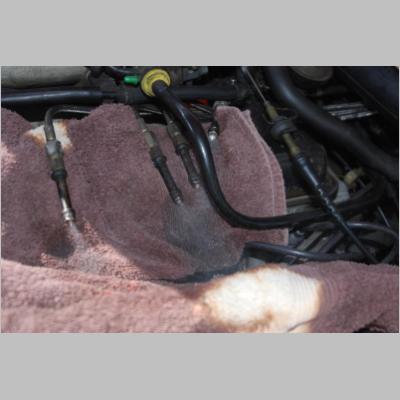
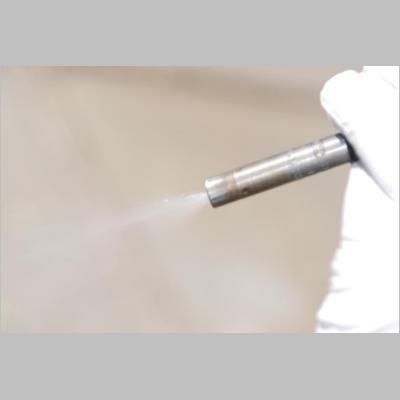
injectors-spraying.jpg
Use
a rag, fuel will spray everywhere, D'OH,
NO SMOKING!!120.86 KB With the key on and pumps running, remove the boot over the sensor plate, raise the sensor plate by hand and the injectors will spray. There are lots of ways that spray patterns might be boogered, you want to see even cones from all four. If you have the means to measure the fuel volume (ideally, 4 graduated cylinders for accuracy, 4 identical soda bottles for an approximation) now, and again once cleaned is a good time to measure. If you find one weak injector after cleaning, swap it to another line, see if the weakness follows the injector. If the weakness stays with the line, swap the line at the fuel distributor end, see if the weakness follows the line or stays with the fuel distributor. |
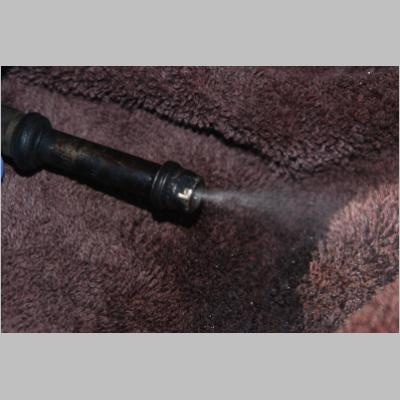
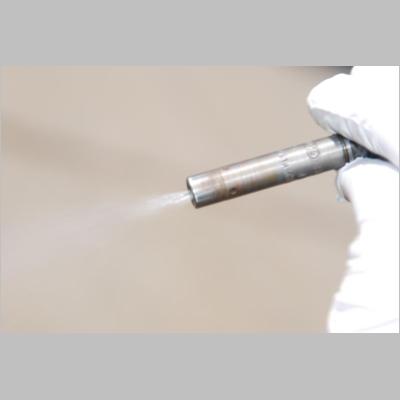
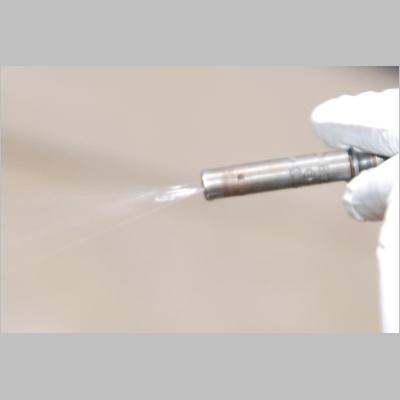
injector-spraying-close-up.jpg
Injector
spraying close up before cleaning, pattern is
not conical, not good.130.98 KB |
injectors-out-nasty.jpg
All
4 injectors, buncha carbon build up that needs
to be cleaned,106.06 KB O-ring seals are rock hard and deformed, major vacuum leak sources, no practical way to tune around such leakage. Cut the old seals. |
removing-hat.jpg
Taking
off the "Hat".90.40 KB Socket is a 21mm, diameter varies by brand, I've used a 22mm Snap-On too, use a hammer head if you like. Open end wrenches are 9mm or 10mm, I forget and a 3/8". Yes, we want to remove the hats both to clean carbon underneath them and to ease installation of the new, green, Viton main injector seals. |
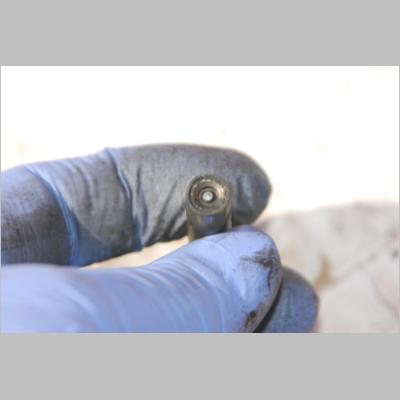
nozzle.jpg
Injector
nozzle with it's Hat removed.88.25 KB |
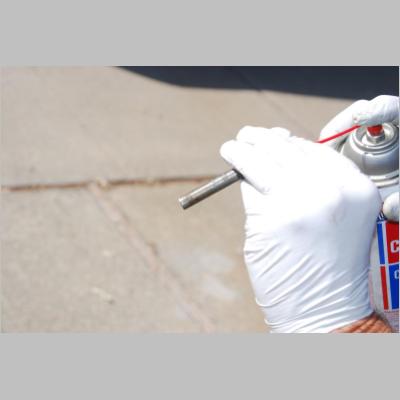
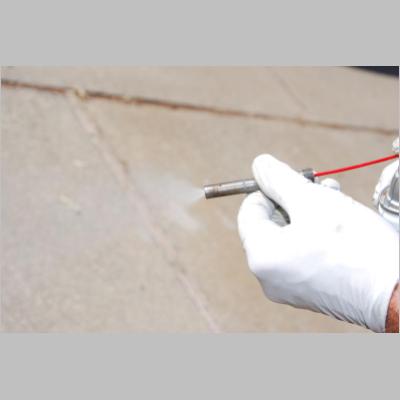
cleaning-getready.jpg
Nozzle
from Berryman's B-12 cleaner stuffed into the
injector inlet, we're
about to clean the nozzles. 90.77 KB There may well be other carb or brake cleaner sprays that work, I've no idea. Berryman's has always worked for me, I've never tried anything else. You sure want to start with a fresh can, if it's cold when/where you are working, take the can indoors to warm it up and raise it's pressure. No need to go stove or oven radical, in fact, that would probably be hazardous, downright STOOPID. |

cleaning-01.jpg
4
photos showing cleaning progress to a nice
conical pattern in the 5th
photo. 74.41 KB You should hear a high pitched squeal from the rapidly oscillating nozzle, I call it "singing". If you sprayed into a rag as in the 7th and 8th photos above, you should have heard all 4 sing then. Even with a fully assembled engine, injectors can be head to sing, one way to KNOW there is some fuel flowing through the injectors. Of course the singing cannot be heard over a running engine. |
cleaning-02.jpg
74.67 KB |
cleaning-03.jpg
75.59 KB |
cleaning-04.jpg
74.96 KB |
cleaning-cleaned.jpg
Injector
nozzle is now clean, nice conical pattern,
really, this is about the
best that can be done for any individual
injector short of replacement.84.77 KB I've used the genuine Bosch/VW bench mounted cleaners, never got any better results. I've also tested Berryman's cleaned injectors on the bench mounted cleaner, no difference. |
hat-installation.jpg
Put
the hats back on, they've got to go fully on
square with no
deformation, see the next photo.112.60 KB I used to use a bench vise, blocks of wood, had bar clamps handy here, worked fine. Seems I've tried big Channelock type pliers with no joy, just failure requiring injector replacement, or at least another hat from another injector. |

hat-not-fully-installed.jpg
We,
(I really mean "I")
screwed up installing the 1st hat, didn't get it
on all the way, spray
pattern was FUBAR.93.37 KB This photo was posed with the hat intentionally pressed on only partially and not fully seated. You can see how the cleaner (or fuel if this was installed in a running engine) sprays back up through the air shroud hat, no way fuel is going to atomize correctly. Expect similar FAIL if the hat gets deformed as you work with it. Hopefully this photo also helps explain the air shroud functions too. |
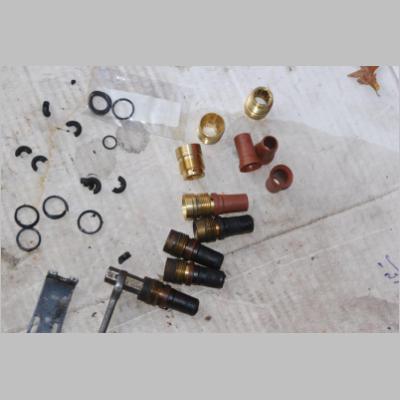
holders-tools.jpg
Dang,
I cannot recall whether the Allen is 12mm or 13mm,
I've got 11, 12 and
13mm versions for various VAG models/years, I think
this one is 12mm. I
use the bit from a Snap-On Allen socket, might be
cheaper and just as
good to cut down a Harbor Freight Allen wrench.114.20 KB I far prefer using a stubby Allen with an open end as shown, leverage is fine, the angle of the open end can 'float' as the holder is removed. The small cross section large diameter square cross section o-rings are the main seals for the injector holders, be sure to pick the remains of the old ones out of the head, this job I made a coat hanger pick and used needle nose pliers. Expect to also need a flashlight and a mirror. |
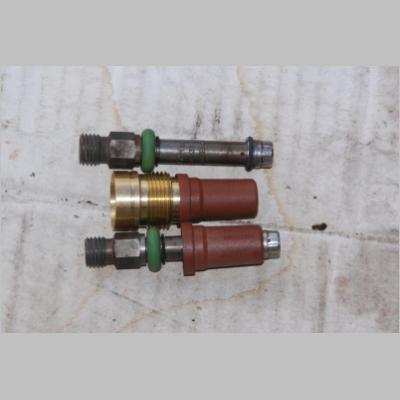
injectors-holders-fitup.jpg
This photo is to show how and
where the injector seals fit and seal into the
holders, also
consider this photo when thinking about the air
shrouded functions, you
really want all this stuff in properly with no
leaks.106.18 KB I use Teflon pipe dope (not tape) from the hardware store to seal the brass threads. VW/Bentley specifies a LocTite product for this application. Story time.... Back around '87-'89 Audi had a very serious issue (and subsequent recall) with Turbo'd 5000s. When driven hard uphill at altitude they would blow raw fuel out around leaking injector seals/holders resulting in major underhood fires, sometimes total vehicle loss, resulting in lawsuits etc.. Part of that recall included sealing the new injector holders with a LocTite product. In My Opinion, use of LocTite in this application was making sure for sure no questions. I feel that for normally aspirated applications LocTite is overkill and actually detrimental to later removal of soft brass inserts from soft aluminum cylinder heads. I find the Teflon pipe dope satisfactory for long term sealing and holding of these injector holders. I think that VW's across the board recommendation of LocTite for this application is a case of Corporate paranoia, any non-serviceability issues that might arise later will happen long after Corporate responsibility (warranty coverage) has long ended. Once the holders are back in the head, install the injectors to the lines, bleed the air out now if you like but it's not absolutely neccesary. Set the injectors into the holders, (one at a time, D'oh) place the installer in place, spray the green o-ring with a shot of Berryman's, pop the injector in using the prybar against the intake manifold. VW/Bentley specifies to use gasoline as a lubricant for this step, I think that's pretty dumb having an open container of gas ready to spill anywhere/everywhere under the hood. Set the duty cycle. LINK Recent Addition Photos pretty much self explanatory, MattPlante on the vwvortex came up with this method of removing tough lower holders. Thread. http://forums.vwvortex.com/showthread.php?5659847-How.to.remove.stubborn.plastic.injector.holders 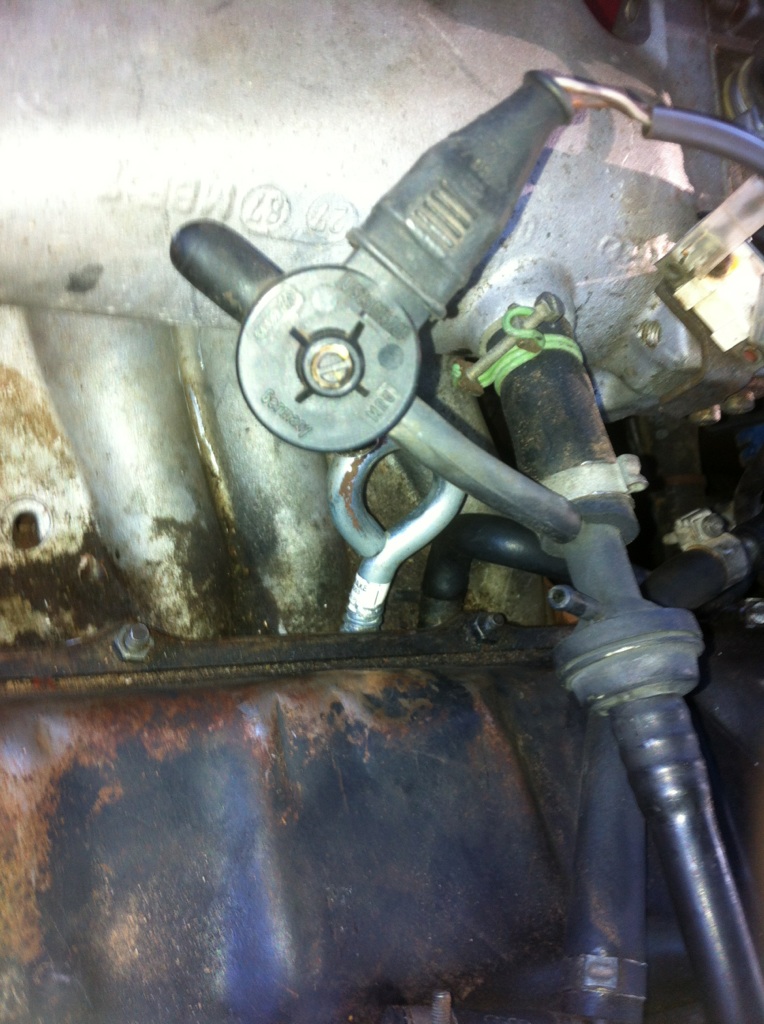  |
© 2011, tolusina on the 'tex and the152.com